Friday 2 December 2011

The Front Hall Bench

So, I showed you the fabulous stencil I painted on our front hall wall. I love it - it completely changed the look of that wall. Of course, the rest of the hall needed some attention too.

We have a bench for the hallway - it's a nice black bench with wicker baskets to hold a ton of stuff. It worked for anyone who needed to sit to remove / add footwear. And since we have winter forever around here, that's a pretty important thing to have.

However, the bench didn't have a cushion, so it wasn't the most comfortable spot. That has now been fixed.

I bought some burlap at the fabric store, and some 2 inch foam at Walmart.


I cut the foam to fit the top of the bench, dry fitting it to make sure it fit well.


I cut and sewed the burlap, making a large pillow for the top.


Trying to fit the foam pieces into the burlap was a bit of a challenge, but after some wrangling, I ended up with this:


I'm pretty happy with it. The colour ties in well with the wall stencil and the baskets in the bench, and it finishes the bench off. The kids thought it was great too and spent a few minutes jumping on it making sure it would stand up to repeat use.

Another successful project for the front hall, if I do say so myself.

Cheers!
Kim

Wednesday 30 November 2011

Our Front Entry

Over two months ago, I completed a project in our front entry - our bland, boring entry.


I didn't take a true 'before' picture, so just imagine a bench beside this wall and forget about the ladder :)

There was nothing exciting about this entry and it definitely didn't reflect our family. So, I decided to change it. Wall paper is very trendy right now, but the one I loved was very expensive - and Mr. E did not want to hang any. So that was the end of that idea.

Another popular option is stenciling - we could get the style and colour we wanted. This handmade stencil from Jones Design Company looked great in her office, and all the how-to details were written down. So, this was the project we decided to tackle for the entryway.

I downloaded the stencil and traced it on to cardboard, so I could use it over and over. To keep the design straight (ish), I enlisted help to hold the laser level so I could trace the design vertically. Conscripted might be a more accurate word - it was definitely not a volunteer position. My oldest lost the rock-paper-scissors competition so he was my 'helper.'


Can't you see the genuine enthusiasm? Um - I can't either. That is definitely a look that says 'are we done yet?'

This took a LONG time - I won't lie. And knowing that I had to go over the pencil with paint was tough - that meant it would take even longer.

I won't go through the details - there are tons of explanations about how to do this, with better pictures than mine. I did learn a few things along the way, which I will share.

1. Make your pencil lines very light or they'll show through your paint. Realistically, nobody will notice - and if they do, just give them the paint and brush so they can add another coat. :) But I switched to a lighter pencil about halfway through and the lines aren't noticeable after that.


2. Start with a small paintbrush - you can always go over your first brush strokes with larger brush but you can't make the brush strokes any smaller. Unless you paint over it with your wall colour and start again.
Go ahead, ask me how I know that.


3. Don't start painting the lines on the right side of the wall unless you're left handed. I'm not - so after a couple of awkwardly painted rows, I let it all dry overnight and started on the left side the next night.


4. Double check how level the level your 'helping' son is holding before you start tracing the lines on the wall. you don't want to have to erase and re-draw them. Again - go ahead and ask me how I know this.

5. Make sure you have something comfortable to sit/lie on when you're painting the bottom portion of the wall. Especially if you have tile floors. They're very hard on the knees when you have to kneel on them for a while.

After a week of working on this after work, it was finally finished - and I think the result was totally worth the effort. I love the wall now:


It is such an incredible difference - the entry has depth and character now. Yippee!

Overall, this was a time consuming project, but a very economical one. In total, I spent $5. Yup, that's all. I bought a sample colour at Benjamin Moore - I had everything else. 

You can't beat that - good looking and cheap. That's my kind of project.

I'll show you the rest of the front hall update soon, I promise! :) Here's a sneak peak:


Until next time,

Cheers!
Kim

Monday 28 November 2011

Chocolate Banana Bread Pudding - a definite make again recipe

I love trying new recipes, and I've been cooking and experimenting for a long time - one of these days, I'll share the story of why I started cooking. Anyway, I love it and do some crazy stuff sometimes.

Like trying a brand new recipe when I promised to bring dessert for a party. Yup, I like to live on the edge.

I have a huge stack of recipes ripped out of old magazines, so I decided to start there. And of course, something caught my eye  - Chocolate Banana Bread Pudding. I mean, with a name like that, it has to be good, right?

Right.

It was amazing.


It took a couple of days to make this - I made the banana bread in advance so I wasn't rushing around like a crazy woman on Saturday afternoon. Or a crazier-than-usual woman. The banana bread sat in the fridge for a couple of days and the kids had strict 'do-not-eat-under-pain-of-death' orders. (banana bread doesn't last long in our house - a day or two, tops)

The recipe was fairly straightforward and got rave reviews. The host told me that it was good enough for seventh or eighth helpings and I had requests for the recipe from the other guests.

So, if anyone is looking for a huge ego boost and a relatively easy dessert recipe, here it is:  Chocolate Banana Bread Pudding

Yummy. It's definitely a make again.

Cheers!
Kim

Thursday 24 November 2011

I have lots to say . . .

I do have lots to say, even though I haven't posted on here for more than a month - where does the time go?

Life has been taken over by kids, work, kids activities, work travel, kid stuff and work stuff - can you see a theme emerging? I was traveling nearly every week for more than a month, for at least a day or two at a time. (I put more than 1200 km on Mr. E's truck in two days)

That seriously cuts into leisure time - which means I want to spend more time with the family when I'm home. And that seriously cuts into blog time.

And, family wins - hands down, every time. So, no blog posts for more than a month. Not that many people read this - yet. (Hi Mom!)

My trusty notebook with blog ideas has been coming along for the traveling though, and I have lots of ideas of things to do and share. You'll have to forgive the badly lit pictures (it is pitch black here before 5pm every day) and the lack of painting (it's too cold to paint outside and I've decided not to subject the family to paint fumes from the basement - very often :) ).

So, I'll try to update this blog every few days and keep everyone in-the-know about all the goings-on around here.

I know, you can't wait, can you? ;)

Cheers until next time!
Kim

Sunday 23 October 2011

Time Flies . . .

It's been three weeks since I posted anything - time truly does seem to disappear in the blink of an eye. I do have the excuse of being out of the country for one of those weeks, so maybe it's not as bad as I think.

International travel sounds so exotic, doesn't it? Exotic definitely didn't define our vacation, but fun, crazy and awesome did. :)


We surprised the kids with a trip to Disneyland - we didn't get the reaction we were hoping for (it wouldn't make a Disney commercial, that's for sure), but once the kids got over the shock, they were very excited.

Everyone had a great time - the weather was mostly good and we only lost one day to a massive rain storm (the first storm of the year, with weather warnings and 2 inches of rain in less than 6 hours). We also did one day at Universal Studios, which was where I got the only picture of me:


And, we didn't get any pictures of Mr. E and I together - nope, not one. Oh well - I know we were both there :)

It was a great week - the kids had a great time - they went on nearly all the roller coasters and most of the other rides. Having all four above the minimum height for all the rides helped a lot (that's 48.5 inches, by the way). The line-ups weren't very bad during the week, so it made for a good vacation. The line-ups on Saturday - those weren't any fun at all. If that's what peak season is like, I couldn't go - it was too busy for me.

So there you have it - what we did for the first week in October, while the kids should have been at school ;) it's fun being the rebel parent once in a while!


Kim

Monday 3 October 2011

The Coolest Kitchen Stools Ever!

Every now and again, I come across a project that makes me want to stop everything I'm doing and focus on nothing else until it's finished.

That happened to me this weekend. 

I was reading a blog I like, The Shabby Chic Cottage, and this was posted: updating kitchen stools. How amazing! We have four kitchen stools at our island and they definitely could use an update. 

This seemed like a sign that I was meant to do something with our kitchen stools - right now. And, since Gina said it was a quick and easy project, I decided to go for it.

Famous last words. 

Anyway, here are the stools sitting in the garage. They're a cherry colour that doesn't go with anything in our house, and they have lots of scratches and wear.


I didn't want to sand them and make a huge mess so I decided to prime them instead. So, with the help of my oldest son, we began spray painting:


After we put one coat of the primer on, I started spraying them black (my helper had long since left me by this point). And this is where the trouble started.

I ran out of black spray paint. I had thought one and a half cans would be more than enough, but apparently not. So, off to the store I went - and found out that the same brand of spray paint was out of stock. I wanted a satin finish but all they had was matte and gloss. To the next store I went, only to find that they didn't carry the same brand of spray paint. Grrrr. I bought three cans of black semi-gloss and came home to finish my 'quick and easy project.'

Apparently, different spray paints aren't necessarily compatible - the paint bubbled in some spots. Sigh. So after it dried, I sanded the paint and added another coat or two where it was needed. 

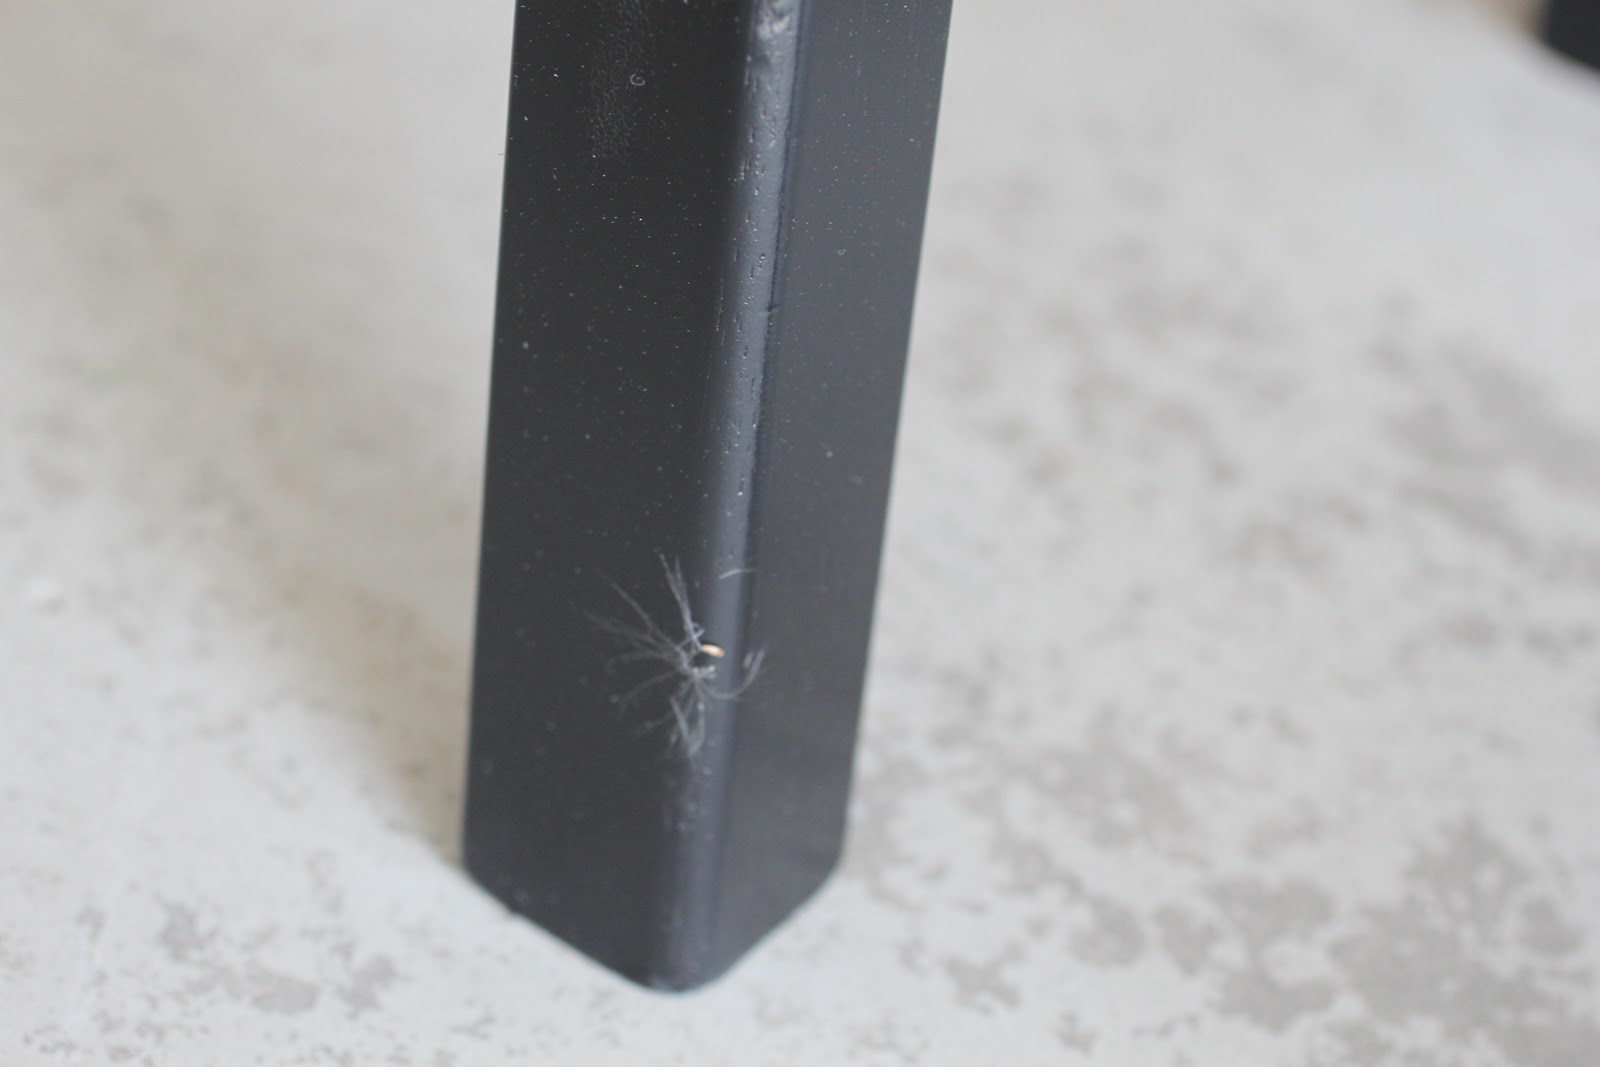
And, it was incredibly windy that day - working in the garage didn't make my day any easier. Huge seeds came from nowhere and landed in my wet paint. It looked like snow in the garage - that's how many seeds came under the half open door. Sigh. Again.


Once I got the bases painted, I started on the tops. After starting with a small foam brush, I realized the tops would need many, many coats to look good and be covered properly. So, I cheated and cracked open another can of spray paint - this one in a nice creamy white. 

I wrapped my drop cloth around the newly painted bases and in two coats, the seats were a wonderful creamy white - just what I was looking for.


The stools that Gina did had a graphic on the seat, which looks great, but it didn't have any personal meaning to me. We have four stools and four kids, so I decided to put their initials on each stool. I printed their initials as large as I could, and made them into home-made stencils by rubbing pencil on the back and tracing them:


It worked really well and I had an outline to follow.

Next, I used two Sharpie paint pens I picked up, traced the outline and coloured the letters in. The paint pens didn't work as well as I'd hoped, so I had to go over the letters again - and clean the black paint off my fingers and touch up the white paint where the paint pens had dripped. Sigh.


I worked my way through them - by this time, I'd moved them into the kitchen so I could hang out with the family. It was early evening by this point, so it was hard to see in the garage.


Finally, the stools were finished!


I added a couple of coats of poly-urethane to seal the tops - they'll be used a lot so I want them to last a while. 

They look great, if I do say so myself :) 

Wednesday 28 September 2011

The New Planter - Part Two

In case you haven't noticed, most things I do are completed in stages. Life is a bit hectic around here, so it's rare that I get the chance to go from start to finish all at once.

I wouldn't have my life any other way :)

So, on Saturday, I began part two of the planter project - taking the plant out. I thought it would be an easy process - I mean, how hard could it be?

Famous last words.


It's a great planter - nice and shiny and a good size for whatever will end up inside.

What I didn't anticipate was the hard foam that was holding the fake plastic plant - that stuff was tough. I started by sliding a knife around the entire inside of the planter (just like taking a cake out of the pan - if only it was that easy) and then tried to pry the foam out.

Big mistake - my knife wasn't strong enough and it snapped off at the handle. So now we're down one steak knife - oops.

Back into the kitchen I went to get another knife - a bigger one. I ended cutting chunks of that foam out, bit by bit. It reminded me of the spray foam insulation you put around windows and doors, to keep the drafts out.

It took a lot longer than I thought, and made a much bigger mess than I thought. At least I was smart enough to start this project outside.

The foam finally gave up and I was left with this:


A big bag of plant stuff for the garbage and a nice planter that needs some scraping or finishing inside.

Which I'll do as soon as I figure out what to do with it - since it doesn't have a home yet, I don't feel bad about not finishing it up right away.

Procrastination at its finest - I'm good at that.

Cheers,
Kim

Tuesday 27 September 2011

My New Planter

Our office has relocated to another building so we've packed, tossed, shredded and purged - something that should be done much more often. I personally threw away full garbage bins of paper shredding (you know the four foot high huge plastic bins on wheels?) and I've only been working here for five years.

But I digress.

Everyone also dumped (errrr - made available to others) stuff that has been sitting around - we scored two corkboards that only need a coat of paint on the frames and we can use them above Dave's music gear in his 'studio.' Okay, using the word studio is a huge stretch, but they will go above his keyboard in the basement while we figure out how to make it a bit more liveable and less 'cast-off dungeon' there for him.

But I digress again. It's a habit of mine - procrastination at its finest.

I have no idea where this has been hiding but I grabbed it when I saw it sitting in the unwanted piles:


The leaves sure look like they belong to an illegal plant - the plants that grow-ops are famous for. This has been sitting in someone's office - crazy!

So, I brought the marijuana-looking plant home with me. I only want the planter it came in - I doubt that smoking a plastic plant that is covered with dust would be fun for anyone. But, the plant and it's foam base were glued inside the planter, so the whole thing came home with me.

The planter is great - it's got a dimpled texture and is a good size.


I'm not sure if I'm going to paint it or leave it the way it is. And I don't have a specific home for it yet - but I'm sure I'll find one.

So here you go - dumpster diving at its best - at work!


Cheers,
Kim

Wednesday 21 September 2011

Fall Splendour

We've been having some wild weather lately - but today was a beautiful fall day. Most of my plants are looking sad and getting ready for winter, but I still have one gorgeous flower - my ligularia.

Isn't it beautiful?


It's nearly 3 feet tall, and lives behind my hostas, astilbes and ferns. The back corner of our yard is like a swamp - really wet and shady. My friend Connie recommended this plant and it's loving it! It's been there for three years and this is the first time it's flowered. What a show - the flowers are gorgeous and add a wonderful splash of fall-colour.


Here's a close-up of the blooms - they're spectacular.

Please ignore the decimated leaves. We've had an aphid infestation this year and every plant has holes in their leaves. Except the rhubarb. Apparently, aphids don't like rhubarb - maybe the leaves are toxic for them too.

I have to look into some aphid-killing options for next summer - non-toxic would be best, but they really annoyed me so I'm also into something a little more potent. (insert evil laugh here). This back corner garden takes the longest to start in the spring since it's covered with snow until May most of the time. So, not being able to enjoy it for very long is frustrating. I'll show some pictures another day - it has really started looking good.

So, enjoy some fall colour!

Cheers,
Kim

Monday 19 September 2011

Kids artwork

I'm sure every parent keeps special artwork that their kids have made - it's only natural.

However, I doubt that most parents keep every piece of artwork their kids have ever made - especially when those kids are nearly in junior high.

I'm that parent - I had boxes and bags of the boys' artwork. Every line drawing and scribble they'd done in their early years. This is a small pile, sitting on the kitchen table:


As we (okay, I) slowly declutter and try to clear out boxes and bags of stuff :), it became apparent that I had to let these pictures go. But, as a Mom, how can I let all of these memories go?

I don't have to.

Over the past few weeks, I've been taking a few minutes here and there, scanning these pictures at work and emailing them to myself  (our copy machine will email jpeg files). And I've added the images to my digital photo frame - so I can see this priceless art all the time, and it isn't hidden away in a box in the basement.

I've kept a few pieces of art that I really liked:

either because they're cute

or because I love the colours


or because they're really good.

I don't feel bad about letting the pictures go - I know they're safe, with the memories that go along with them. And, I can share them with their Grandma and Dad and whoever else I can. :)

Now, only two more boxes to go.

Cheers!
Kim

Sunday 18 September 2011

The Updated Dresser

Apparently this is a common theme - the weekend part one and part two. Does it make it better because we have such a busy week that the weekends are the only time we get anything done, other than regular week 'stuff'?

So, here's my big project for the weekend - well, it's been a project that took longer than a weekend, but it finished this weekend.

This is our dresser project - the poor, sad, maligned dresser. Here's a before picture to give you an idea of what we started with:


This poor dresser had been painted powder blue and sponge painted with purple - yup, it was a hideous mess of horibble-ness.

Mr. E found this poor dresser at the salvage yard in Okotoks - sadly hoping for a home. Mr. E is used to me looking at things and seeing different potentials, so when I got a text message asking if this was something we could use, I took a second - and a third - and a fourth - look, before I said 'please bring this poor dresser home'.

See, we'd been looking for a cooler dresser to put in our bedroom landing - a place for Kendra to put her clothes that looked a bit cooler than the 'pressboard brown' dresser that had been there for nearly a year.

It was a stretch, but I figured, for $5, it couldn't really go wrong. Yup, Mr. E drives a hard bargain ;)

So, I sanded - and sanded - and sanded - to get rid of the sponge effect.


My hands were purple after this - it took a lot of scrubbing to get rid of the purple haze - I was singing songs by Jimmy Hendrix for days after this.

So, after lots of sanding and filling in with wood filler - we got this:


Then, I used a really cool blue and started to paint the dresser.

It took a few coats, but it started to look really good - 

I decided I wanted something different - not your traditional solid colour dresser.

Stripes would look cool, right?


That's what I thought too :)

Why does a project always take longer than you think it will? I started this three weekends ago.

Here is the finished dresser in our upstairs landing - this is the view as you walk up the stairs:


And here it is looking down the stairs:


It's such a cool dresser - so different than anything we have in the house right now. 

The sides need touched up where the drawers are - I didn't check to see if the drawers would cover the sides, and of course they don't. Hopefully I can do that one night this week.

Of course, it makes the rest of the upstairs look like it needs a makeover. The top of the dresser needs some love - and the trim needs painted white - and the cubbies on the wall need filled with knick-knacks, but one project at a time. 


This is how the dresser looked about 10 minutes after we moved it in - covered with boys' clothes. 

Oh well. Our house is lived in - no question.


Cheers!
Kim

Tuesday 13 September 2011

The Weekend - Part Two

In between birthday celebration activities (in addition to Justin's birthday party that I just talked about, we also went bowling), we hung out at Race City Speedway in Calgary to see this:


My cousin Terry racing his MG sports car. Cool, isn't it?

This car had been restored by my Dad before he passed away. It took him more than ten years and he always wanted to race it, but never got the chance. Terry lived that dream for him.

Terry had never been on a race track before, so he had an experienced friend take the first few laps, then he took over and let 'er rip!


Look at him - hangin' with the 'in' crowd :) There was also a Lamborghini on the course.

Go Speed Racer!

After, we hung out in the 'pit' with him and other drivers - the kids loved sitting in the car and pretending to push buttons and change gears.


Here's the proof that we really knew him and weren't just stalking the car ;)


The race track is closing down, so Terry may never get the chance to race it again - but he did what Dad always wanted to do.

Thank you Terry. This means more to me than you know.